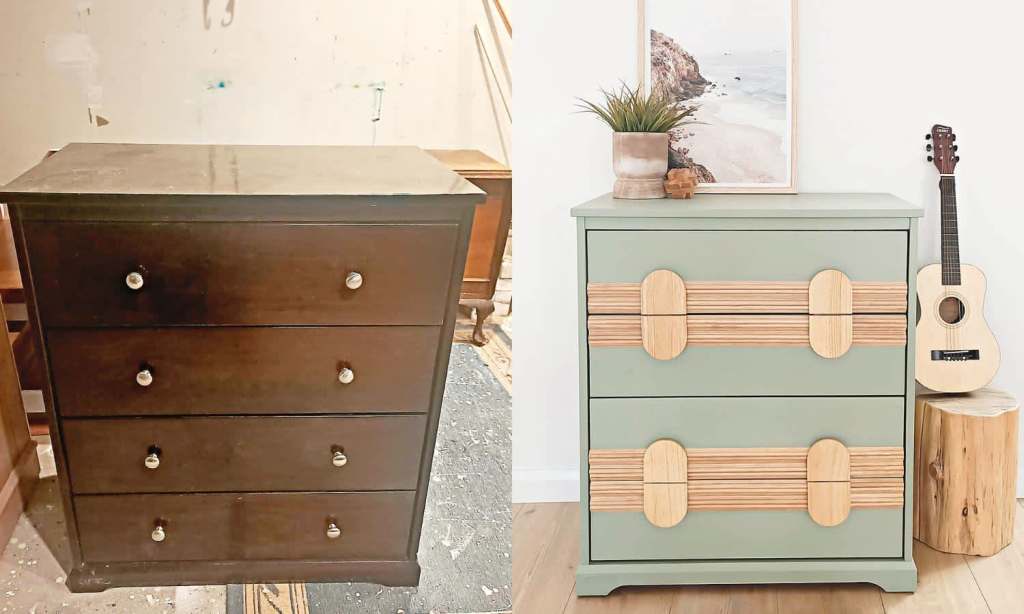
Upcycling is not only good for the planet and your wallet, but also for your imagination, as it requires you to think outside the box.
In fact, many people often miss the potential of their old furniture, as they can’t see beyond its original function, says Mitch McLean, a DIY expert at Bunnings Workshop. He notes, however, that while it can be exciting to start a new project, it’s important not to skimp on the preparation steps.
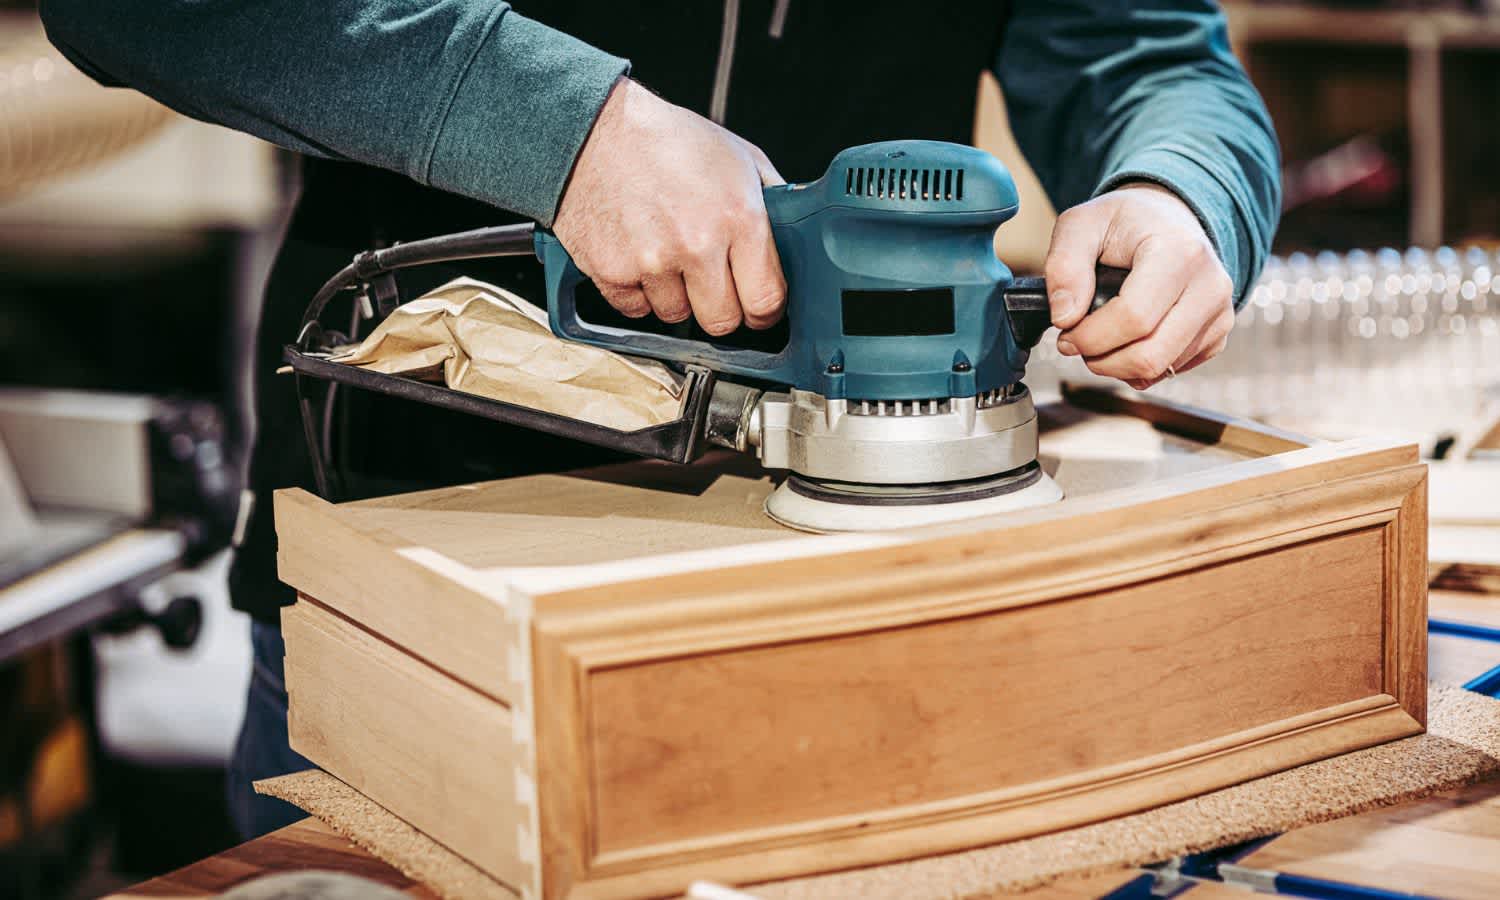
“Often, you’ll need to spend far more time repairing, filling, sanding and finishing a piece of furniture than you will painting it,” he says. “The more effort you put into refining the project, the better the paint finish and your overall results will be.”
Ahead, McLean, along with fellow DIY expert, Eric Lara, shares their top tips and tricks for upcycling.
Invest in the Right Tools
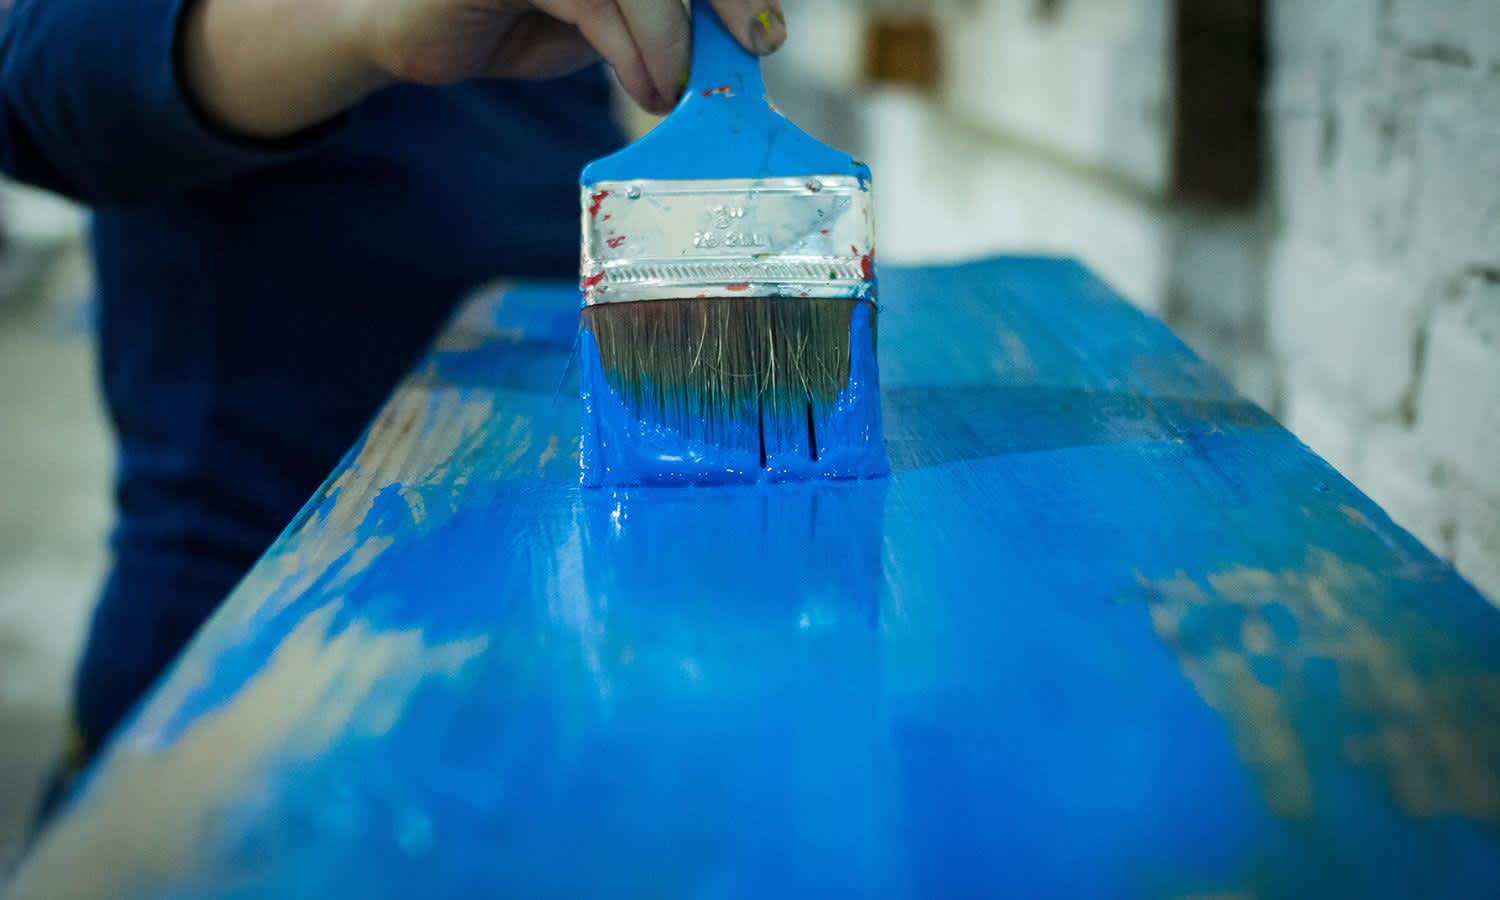
If you plan on making a hobby out of upcycling, investing in good quality paint brushes and rollers, an electric sander and an electric drill are a must that will see you through countless projects, says McLean.
Other products you might need are a Selleys Sausage Gun that’s designed to discharge high volumes of adhesives and sealants, Selleys Knead It Multipurpose, puttythat won’t sag or drip, and Selleys White For Life Tile Adhesive that works for easy tiling projects.
Related: 4 Easy Mindset Shifts to Adopt to Start Becoming a More Conscious Consumer
Related: 10 DIY Projects You Can Finish In Just a Weekend
Lara seconds investing in a premium paintbrush or roller, as well as a sander — he suggests this Random Orbital Sander ($49) — which he says will speed up the sanding process. “Not only will you be able to deal swiftly with large surfaces and hard-to-reach corners, but you’ll achieve a more uniform finish, too,” he says.
In addition to investing in the right tools, McLean says to spend some time investing in your own DIY skills, as they’re the most valuable asset you have to contribute to a project.

“Having the correct tools for the job will drastically increase the speed and ease with which you can complete a project, but you need to know how to use them effectively,” he says.
Find Cheap or Free Furniture
Once you have the right tools, you’ll want to spend some time finding the right piece — that’s either cheap or free, says McLean. “That way, you’ll be able to invest in quality preparation products and coatings for your piece,” he says.
“Not only is it important to use premium paint on your project, which will provide years of protection while looking fantastic, but also not to forget about prepping the surface with a premium undercoat. Specialised undercoats remove the need for hours of laborious sanding and help the pain stick to challenging surfaces.”
Lara suggests choosing something suitably constructed that lends itself to your overall vision. “Solid timber pieces are easily transformed, but particle boards, medium-density fibreboard (MDF) and timber veneers can be troublesome and time-consuming to repair,” he says.
Choose Your Setup Spot Wisely
Next up: deciding where you want to setup because, let’s face it, upcycling can be messy work. If you have a balcony, that’s an ideal place to setup as it offers (some) protection from the elements and enough airflow to battle any painting projects, says McLean.

“If you don’t have a balcony or it’s too small to use, simply a drop sheet inside and keep your windows open,” he says. “You can quickly turn an indoor space into an effective work zone by adding some drop sheets. Selecting paint products with a low VOC (Volatile Organic Compounds) content and connecting a wet and dry vacuum to your sanding equipment will prevent overpowering smells and keep dust levels to a minimum.”
Make a Detailed Plan
Once you have all the tools, have your workspace setup and have the furniture piece that you’re going to upcycle ready to go, the final step is to create a detailed plan, as it will eliminate any unexpected stoppages.
McLean suggests using Bunnings’ library of upcycling ideas for inspiration or its Workshop community, filled with projects contributed by its members.
Read more stories from The Latch and subscribe to our email newsletter.


